How to install Keras in R with GPU support [Windows]
This should not have taken as long as it did. It seems getting anything working with CUDA is difficult. I first tried this on Ubuntu 20.04 then 18.04, but CUDA just wouldn’t work. Going back again, I could probably get it to work, but Windows it is for now. Don’t change any default directories in installations—will probably only make this installation more difficult.
Steps
-
Install Anaconda. Conda is required to do this on Windows. Don’t put it on path through the installer. Add to path afterwards. https://anaconda.com/products/individual
-
Add conda to path. Type “conda where” into a new command prompt window. Add this to your Windows path. Follow this guide on how to add something to the path. You only need to add conda to the Windows path, not Python. https://geek-university.com/python/add-python-to-the-windows-path/
-
Install R version 3.6.3. The Keras package wouldn’t even load on anything higher. Luckily the Windows version of RStudio lets you choose which R version to use on the fly. Direct download link: https://mirror.las.iastate.edu/CRAN/bin/windows/base/old/3.6.3/R-3.6.3-win.exe
-
Install RStudio. When it gives you options for what you want to install, uncheck the 32-bit version option if you have a 64-bit Windows install. https://rstudio.com/products/rstudio/download/#download
-
Ensure you have an NVIDIA GPU that supports CUDA 10.0. Anything GTX 7XX or higher should work. https://en.wikipedia.org/wiki/CUDA
-
Install CUDA 10.0. It will ask you if you want to install drivers as well. If you use your graphics card for gaming, click Custom install and only check CUDA and its subsidiaries in the custom installation options. Otherwise the installer will overwrite your latest GeForce drivers and your game performance will likely suffer. Direct download link: https://developer.nvidia.com/compute/cuda/10.0/Prod/local_installers/cuda_10.0.130_411.31_win10
-
Make an NVIDIA Developer account and download cuDNN 10.0 v7.6.4.38. Direct download link: https://developer.nvidia.com/compute/machine-learning/cudnn/secure/7.6.4.38/Production/10.0_20190923/cudnn-10.0-windows10-x64-v7.6.4.38.zip
-
Extract the cuDNN files. Within this extracted cudnn-10.0-windows10-x64-v7.6.4.38 folder you will have three subfolders: bin, include, and lib. Now leave that window open and open another window. In the new window navigate to the following path C:\Program Files\NVIDIA GPU Computing Toolkit\CUDA\v10.0. Drag the contents of each folder from your cudnn window into their matching folders in the CUDA window. More detailed instructions here: https://docs.nvidia.com/deeplearning/sdk/cudnn-install/index.html#install-windows.

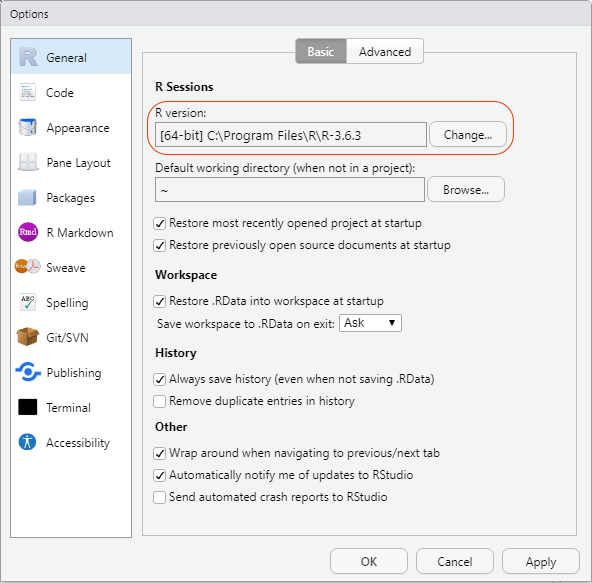
- Open RStudio. If you haven’t already, change your R version to 3.6.3 by going to Tools then Global Options. Run the following commands. The reticulate package should automatically be installed with the keras package.

install.packages(“keras”)
library(keras)
library(tensorflow)
install_tensorflow(version = “2.0.0”)
library(reticulate)
reticulate::conda_create(“environment_name_here”)
reticulate::use_condaenv(“environment_name_here”, required = TRUE)
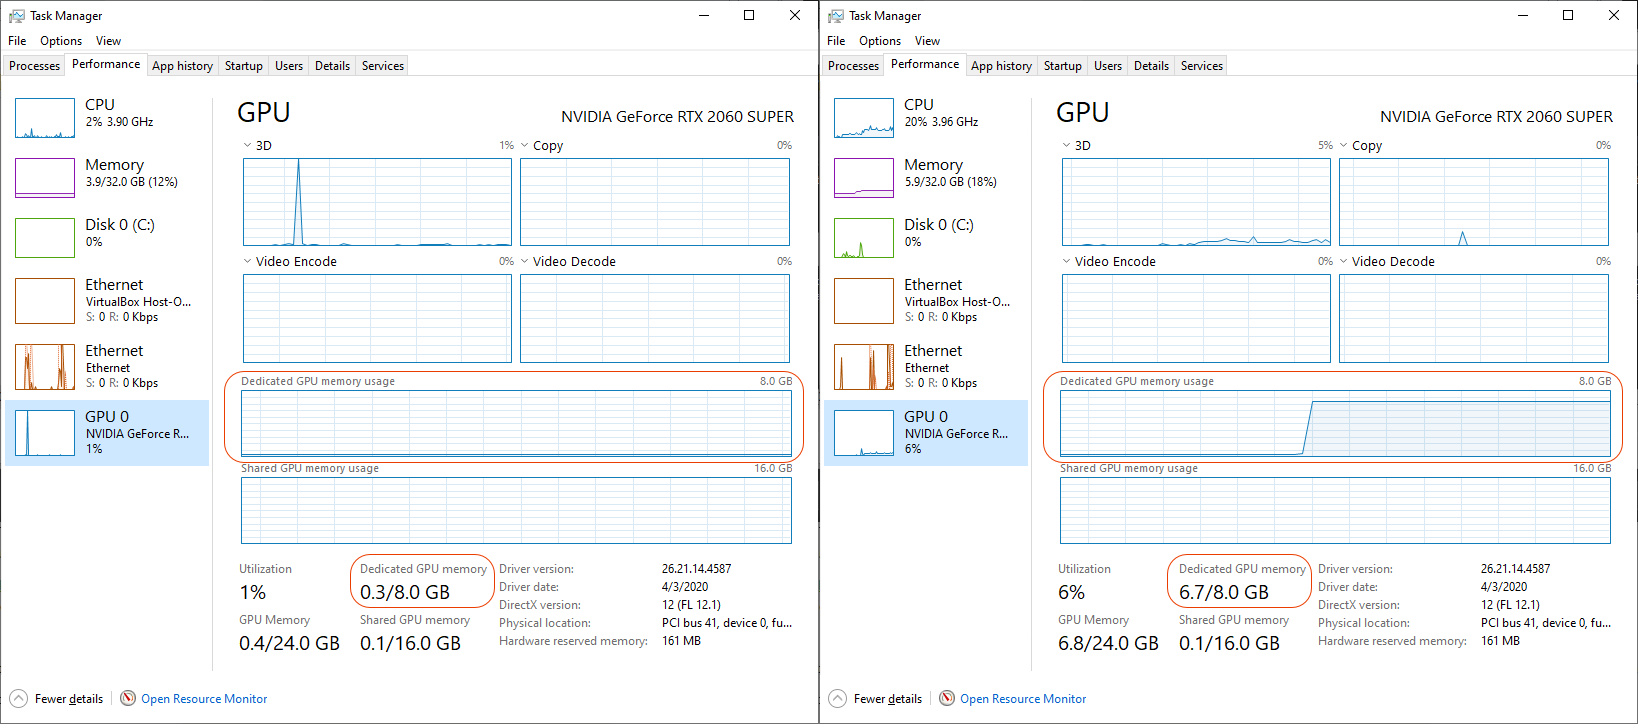
install_keras(method = “conda”, tensorflow = “1.15.1-gpu”)- Finally test to make sure everything is working. Make sure no errors come up (certain warnings might be okay, but read through them to make sure they are not reverting things back to the CPU). You should see messages like this: “successfully opened dynamic library cudart64_100.dll” and “successfully opened dynamic library cublas64_100.dll”. While this runs, monitor your GPU usage in task manager. Actual GPU usage might be low in a small task, but VRAM usage should definitely be noticeable. Use something like this sample code from the Keras site to test. https://keras.rstudio.com/articles/getting_started.html

That’s it. However, one update to this unstable and loosely balanced Jenga tower of versions and everything will probably come crashing down.
Versions
- R 3.6.3
- CUDA 10.0
- Tensorflow 2.0.0
- Tensorflow GPU 1.15.0
- cuDNN 10.0 v7.6.4.38
- Python 3.8
- Conda 4.8.2
- Windows 10 Education Version 1909 (this shouldn’t matter as long as you’re on Windows 10)
- RStudio version 1.3.959 (this shouldn’t really matter)
System specs:
- Ryzen 5 3600
- RTX 2060 Super
- 32 GB RAM